This is a corruption type deck with a bit of setup work to do, but when your engine gets up and running the opponents go down pretty quickly - either that or their strategy is massively locked out by forced swaps and damage control.
𝐒𝐭𝐚𝐫𝐭
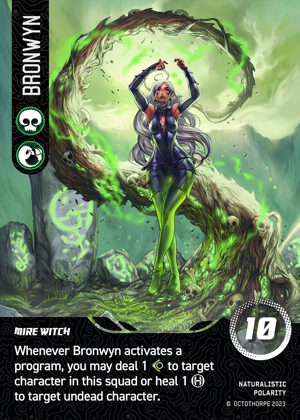
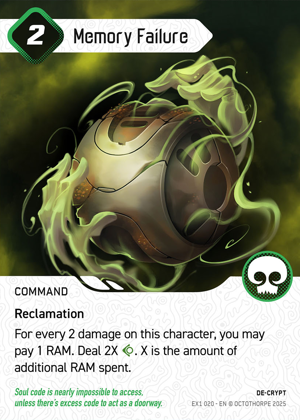
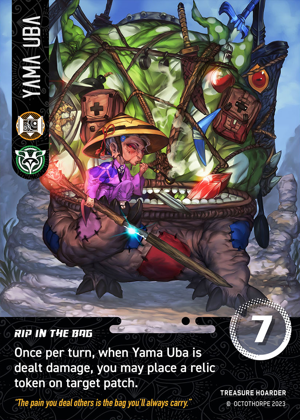
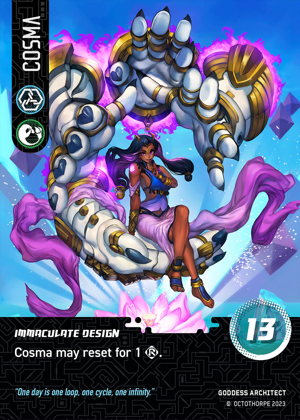
It doesn't matter too much if you go first or second, although the battery may help you hit a few damage breakpoints early on with the memory failure. Personally I would still reveal Yama Uba first, but feel free to start with Cosma to go second. Your main 3 are Bronwyn, Cosma and Yama Uba though.
𝐓𝐮𝐫𝐧 𝐛𝐲 𝐓𝐮𝐫𝐧
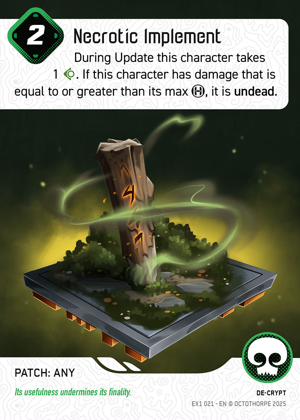
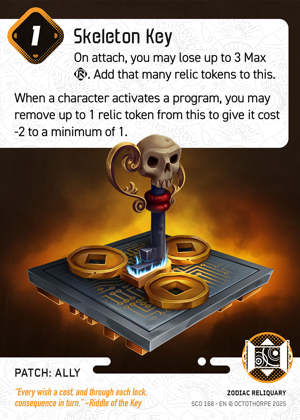
Turn 1: Get your Skeleton Key in play (don't lose any RAM). I usually would just put it on Yama since she'll be undead but if the opponent has lots of patch removal you may want to have it on someone else, since if they remove your necrotic implement later on you'll lose everything attached to Yama. Follow that kind of logic for all the allied patches in the deck unless otherwise specified.
Turn 2: Play Necrotic Implement onto Yama. If you're looking to crash an opponent early then add Bronwyn's ability damage onto Yama as well, to try and build up to an early Memory Failure. However, be careful with this if the opposing team looks aggro-ish, as you're basically handing them 1/3 crashes. It often isn't necessary to use Bronwyn's ability. Don't forget to grab your relic onto the Key at the end of the turn.
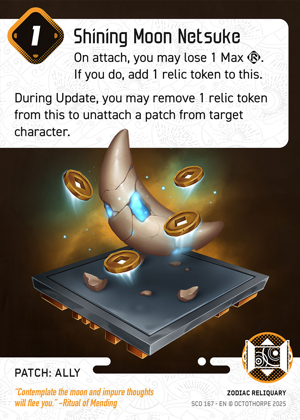
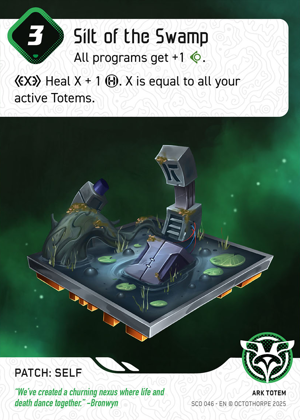
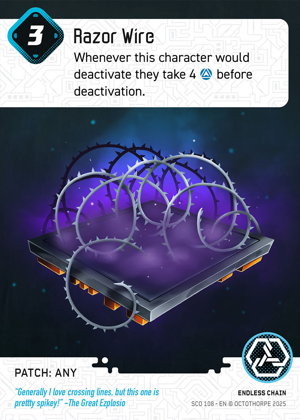
Turn 3: Often you will just play Deadly Transmission and Shining Moon Netsuke this turn, but there are a few other options. You could use a key charge to play the Razor Wire early onto someone who may want to swap out early to try and discourage it, then still play the Deadly Transmission. You can also turbo out the Silt of the Swamp by playing Shining Moon and using the key charge, although this wastes a RAM. Remember that during update, you have the option to (after taking the Implement damage to get a relic), put it on the Shining Moon and immediately use it to remove an enemy patch if need be.
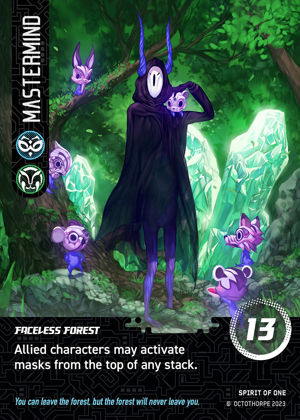
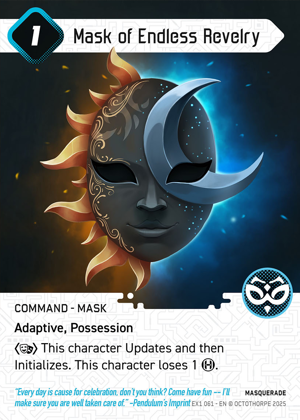
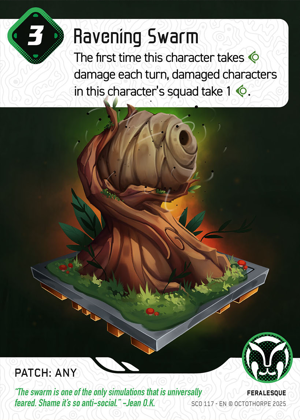
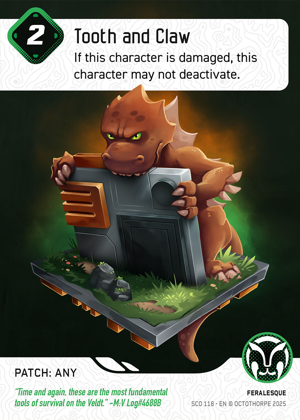
Turn 4: Here you want to be looking at using a few key charges to really complete setup ideally. Get the Silt played if you hadn't before, use Cosma's stack a bit, etc. You can also go the general route of playing the memory failure for 2 RAM to get it crashed, then swap Bronwyn for Mastermind to set up the Ravening Swarm stuff next turn. If you do that, the best way to do it I think is Key out the Silt for 1 cost, then play the Memory Failure so you at least get 1 damage, then swap into Mastermind and reset with the mask. This allows you to play Ravening Swarm and Tooth and Claw onto the target that was damaged from the Transmission, all on turn 5.
𝐓𝐢𝐩𝐬/𝐇𝐨𝐰 𝐭𝐨 𝐏𝐢𝐥𝐨𝐭
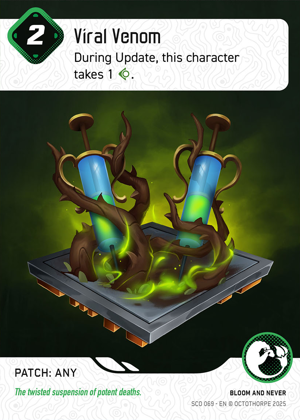
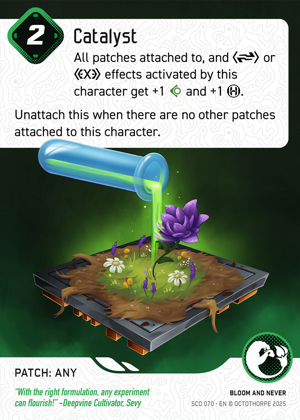
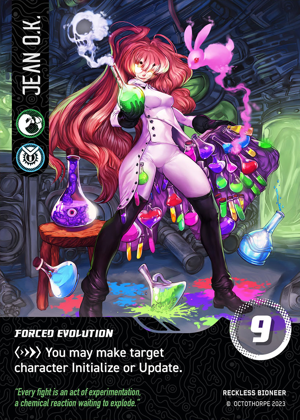
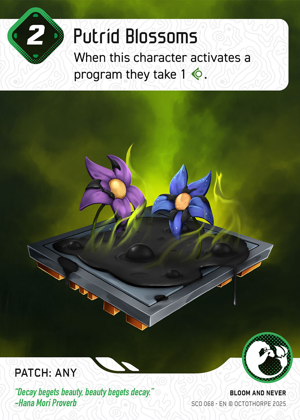
As you can see, the setup is definitely slow compared to a lot of good decks I've played against. Luckily though, you can really interfere with any setup the opponent is doing early on using the Shining Moon activations and/or an early Razor Wire. When you get rolling you can start picking up 1 turn kills with memory failures used by Yama, and you also get a lot of burst with the combinations of Viral Venom, Catalyst, Deadly Transmission with a well-timed Jean O.K. ambush to update and trigger them all. Putrid Blossoms with Ravening Swarm can be really nasty as well to discourage activating anything without being damaged heavily.
Bronwyn's use is fairly obvious here (if you read the turn by turn lol) - sets up Yama with the undead patch, gets a good source of one sided damage going then makes Memory Failure available for Yama to use a ton. Deadly transmission will bounce between the opponent and Yama, but Yama will be undead so the damage only matters for them.
Mastermind comes in a little later in the game to set up the Ravening Swarm and helps to block them in with Tooth and Claw. The deck isn't really built around getting lots of value on multiple characters using the Swarm, although it sometimes can luckily work out that way. Mainly it just adds an extra source of efficient damage to load up onto individual characters, since even if you lose some of your corruption patches you can still just queue up some huge memory failures to close out. The mask in the stack can do huge damage but is really slow to set up and usually won't really work out I expect.
Yama is the main engine of the deck and you're pretty sad if she goes down. She gives your corruption damage value with the silt, gets discounts and patch removal passively and sets off the huge memory failures.
Cosma is the main anchor point with her high health and disruptive patches. The Razor Wire helps stop opponents from just swapping out to prevent your patches from working, and is good to just pre-emptively set up whenever you get time. Then the Venom and Catalyst put the threat on enemies either doing immediate damage with Jean or just over time.
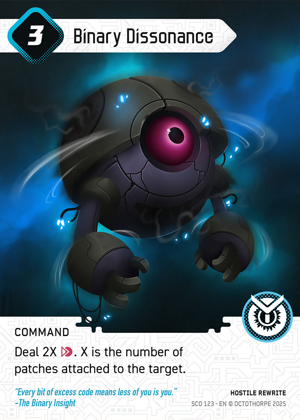
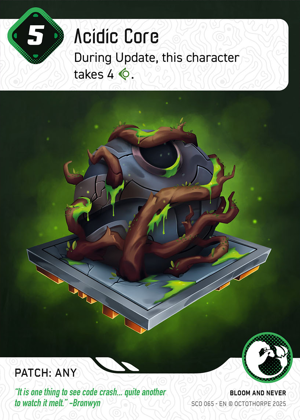
Jean O.K. is sort of the backup plan combined with good early damage. You want to swap her in on the Transmission and Venom target as mentioned to likely pick up a crash. But then she helps carry if Yama gets crashed as she puts out heavy damage with the Binary Dissonance and Acidic Core to try and close out the game in that situation.
𝐑𝐞𝐩𝐥𝐚𝐜𝐞𝐦𝐞𝐧𝐭𝐬
Although I think Mastermind is fun with trying to make the mask and Ravening Swarm work, that slot would almost definitely be better filled with O-Mori to revive Yama if they have ways to unattach the Necrotic Implement. Think of that as being in the sideboard already - if the opposing deck had easily accessible patch removal at all times spread across multiple characters that I can't prevent at all, then in game 2 I would 100% be swapping out Mastermind for O-Mori. I would just run on her the pretty standard setup of Shisha Sosei, Inscrutable Koan then Virus Injection. Even with the nerf making her pay 1 to activate the revive, and the character no longer comes in able to use programs that turn, it's still worth it to force them to keep patch removing the undead stuff instead of the corruption patches. (The reason I included Mastermind in the deck was because of the seemingly broken 0 cost Danse Macabre which would fit perfectly in place of Tooth and Claw, but since it's actually at 3 cost I cut it.)
Whilst we're on sideboards, for the other character I would probably use Shred with Dive for the Bushes, Irritant Scratch, Hungering Kunai. I probably wouldn't sub him in too often but if a deck had lots of early cheap patches, maybe some Mega Byte type thing or Totems then I'd be wanting him for the ability. Irritant scratch is nice with the Ravening Swarm as well (I'd probably swap Cosma out if Shred was coming in as he is nice to start with.)
Description
Stack 1
Stack 2
Stack 3
Stack 4
Stack 5
The library
0 comments
You must be logged in to add comments.